Macbook Pro 2017 14,2 with Slackware64
Posted on Feb 23, 2026 by kingbeowulf
After the success of getting the old 2007 iMac running, I decided to take a stab at a used Intel Macbook. Many of these are being obsoleted as MacOS for Intel systems reaches end of life / end of support. For most basic office productivity tasks, a 5-10 yr old system is plenty good enough.
fter perusing the used computers marke places, I settled on an old Macbook Pro mid-2017 14,2
Specifications:
 13.3-inch (diagonal) LED IPS display
 22560x1600 retina display 227 ppi
 3i7-7567U CPU @ 3.50GHz
 41TB NVMe SSD
 516GB RAM
 6Intel Iris Plus Graphics 650
 7Four Thunderbolt 3 (USB-C) ports
 8802.11ac Wi-Fi
 9Bluetooth 4.2
10720p FaceTime HD camera
The Macbook needed some repair: a few new key caps to replace worn/broken, and a new battery. I split the drive into 2 partitions, leaving MacOS intact for now as a backup in case the Linux installation failed.
In MacOS, first use Disk Utility to resize and the create new empty space (or not - you can always just go for it!), shrinking the MacOS partition as needed to create space for the linux partitions. Now, boot the Slackware installer as usual: hold "option" key to get the icon for the USB drive (generic EFI icon next). When booting, chose 'nomodeset' to avoid console resolution issues (discussed below), use cfdisk to setup new root partition to Linux, and add a swap partition (needed for suspend/hibernate, more on that later). Leave Apple's EFI partition as-is. I opted for the current development branch of Slackware since this will have the latest hardware support. After performing the recommended full install procedure, skipping the lilo/elilo installation section. Lilo won't work on a Mac, and elilo will usually brick the Apple's implementation of UEFI. Finish up, but do not reboot yet. If all goes well you will have:
 1fdisk -l /dev/nvme0n1
 2Disk /dev/nvme0n1: 931.84 GiB, 1000555581440 bytes, 244276265 sectors
 3Disk model: APPLE SSD AP1024J
 4Units: sectors of 1 * 4096 = 4096 bytes
 5Sector size (logical/physical): 4096 bytes / 4096 bytes
 6I/O size (minimum/optimal): 4096 bytes / 4096 bytes
 7Disklabel type: gpt
 8Disk identifier: A0F3C2CE-A16F-499D-B696-28CB893710C6
 9
10Device             Start       End   Sectors   Size Type
11/dev/nvme0n1p1         6     76805     76800   300M EFI System
12/dev/nvme0n1p2     76806 122176532 122099727 465.8G Apple APFS
13/dev/nvme0n1p3 122176768 239879423 117702656   449G Linux filesystem
14/dev/nvme0n1p4 239879424 244276223   4396800  16.8G Linux swap
Since we can't use lilo or elilo, we will now set up grub2 since this is already installed and available. At this point, the root partition should still be mounted on /mnt so we will chroot:
1mount /dev/nvme0n1p1 /mnt/boot/efi
2mount -o bind /dev /mnt/dev
3mount -o bind /proc /mnt/proc
4mount -o bind /sys  /mnt/sys
5mount -o bind /sys/firmware/efi/efivars /mnt/sys/firmware/efi/efivars
This last one exposes the efi vars grub needs to access for the boot loader configuration.
1chroot /mnt
We are now running our new Slackware! To install grub2, using the kernel and initrd already set up during the install process,
1grub-install --target=x86_64-efi --efi-directory=/boot/efi/ --bootloader-id=slackware
2grub-mkconfig -o /boot/grub/grub.cfg
If all goes well you should see
 1tree /boot/efi
 2boot/efi
 3└── EFI
 4    ├── APPLE
 5    │   ├── EMBEDDEDOS
 6    │   │   ├── FDRData
 7    │   │   ├── combined.memboot
 8    │   │   └── version.plist
 9    │   └── LOG
10    └── slackware
11        └── grubx64.efi
We need to make one "small" update. Apple won't see the grub efi file unless you move and rename grubx64.efi. You can save a step by specifying '--bootloader-id=boot'. I decided to manually copy install so as to have a reminder.
 1mkdir -p /boot/efi/EFI/boot
 2cp /boot/efi/EFI/slackware/grubx64.efi /boot/efi/EFI/boot/BOOTX64.efi
 3
 4tree /boot/efi
 5boot/efi
 6└── EFI
 7    ├── APPLE
 8    │   ├── EMBEDDEDOS
 9    │   │   ├── FDRData
10    │   │   ├── combined.memboot
11    │   │   └── version.plist
12    │   └── LOG
13    ├── boot
14    │   └── BOOTX64.EFI
15    └── slackware
16        └── grubx64.efi
If you forget to copy the efi file, you can boot back into MacOS, open the terminal:
1% diskutil list                     # to find EFI partition
2% sudo diskutil mount disk0s1       # mount the EFI partition
3% mkdir -p /Volumes/EFI/EFI/boot
4% cp /volumes/EFI/EFI/slackware/grubx64.efi /volumes/EFI/EFI/boot/BOOTX64.EFI
Before we can reboot, we need one more edit. When linux boots it "guesses" the incorrect Retina Display resolution for the console framebuffer. This results in the ~5-10 lines on the bottom of the screen being outside the display area. I was not sure how to fix this via grub, or if it would stick on updates, so I opted with just adding a simple fix to /etc/rc.d/rc.local:
1fbset -xres 2560 -yres 1600
This will make is easy to log in and run startx. You can also just configure runlevel 4 as well since X figures out the correct screen size.
At this point you can exit the chroot and reboot. Now when you hold down the 'option' key on boot up, your should see the Apple Mac icon and the generic EFI icon. The latter will boot Slackware via grub. The Macbook will remember this choice for the next reboot.
Congratulations! You are now running Slackware on the Macbook!
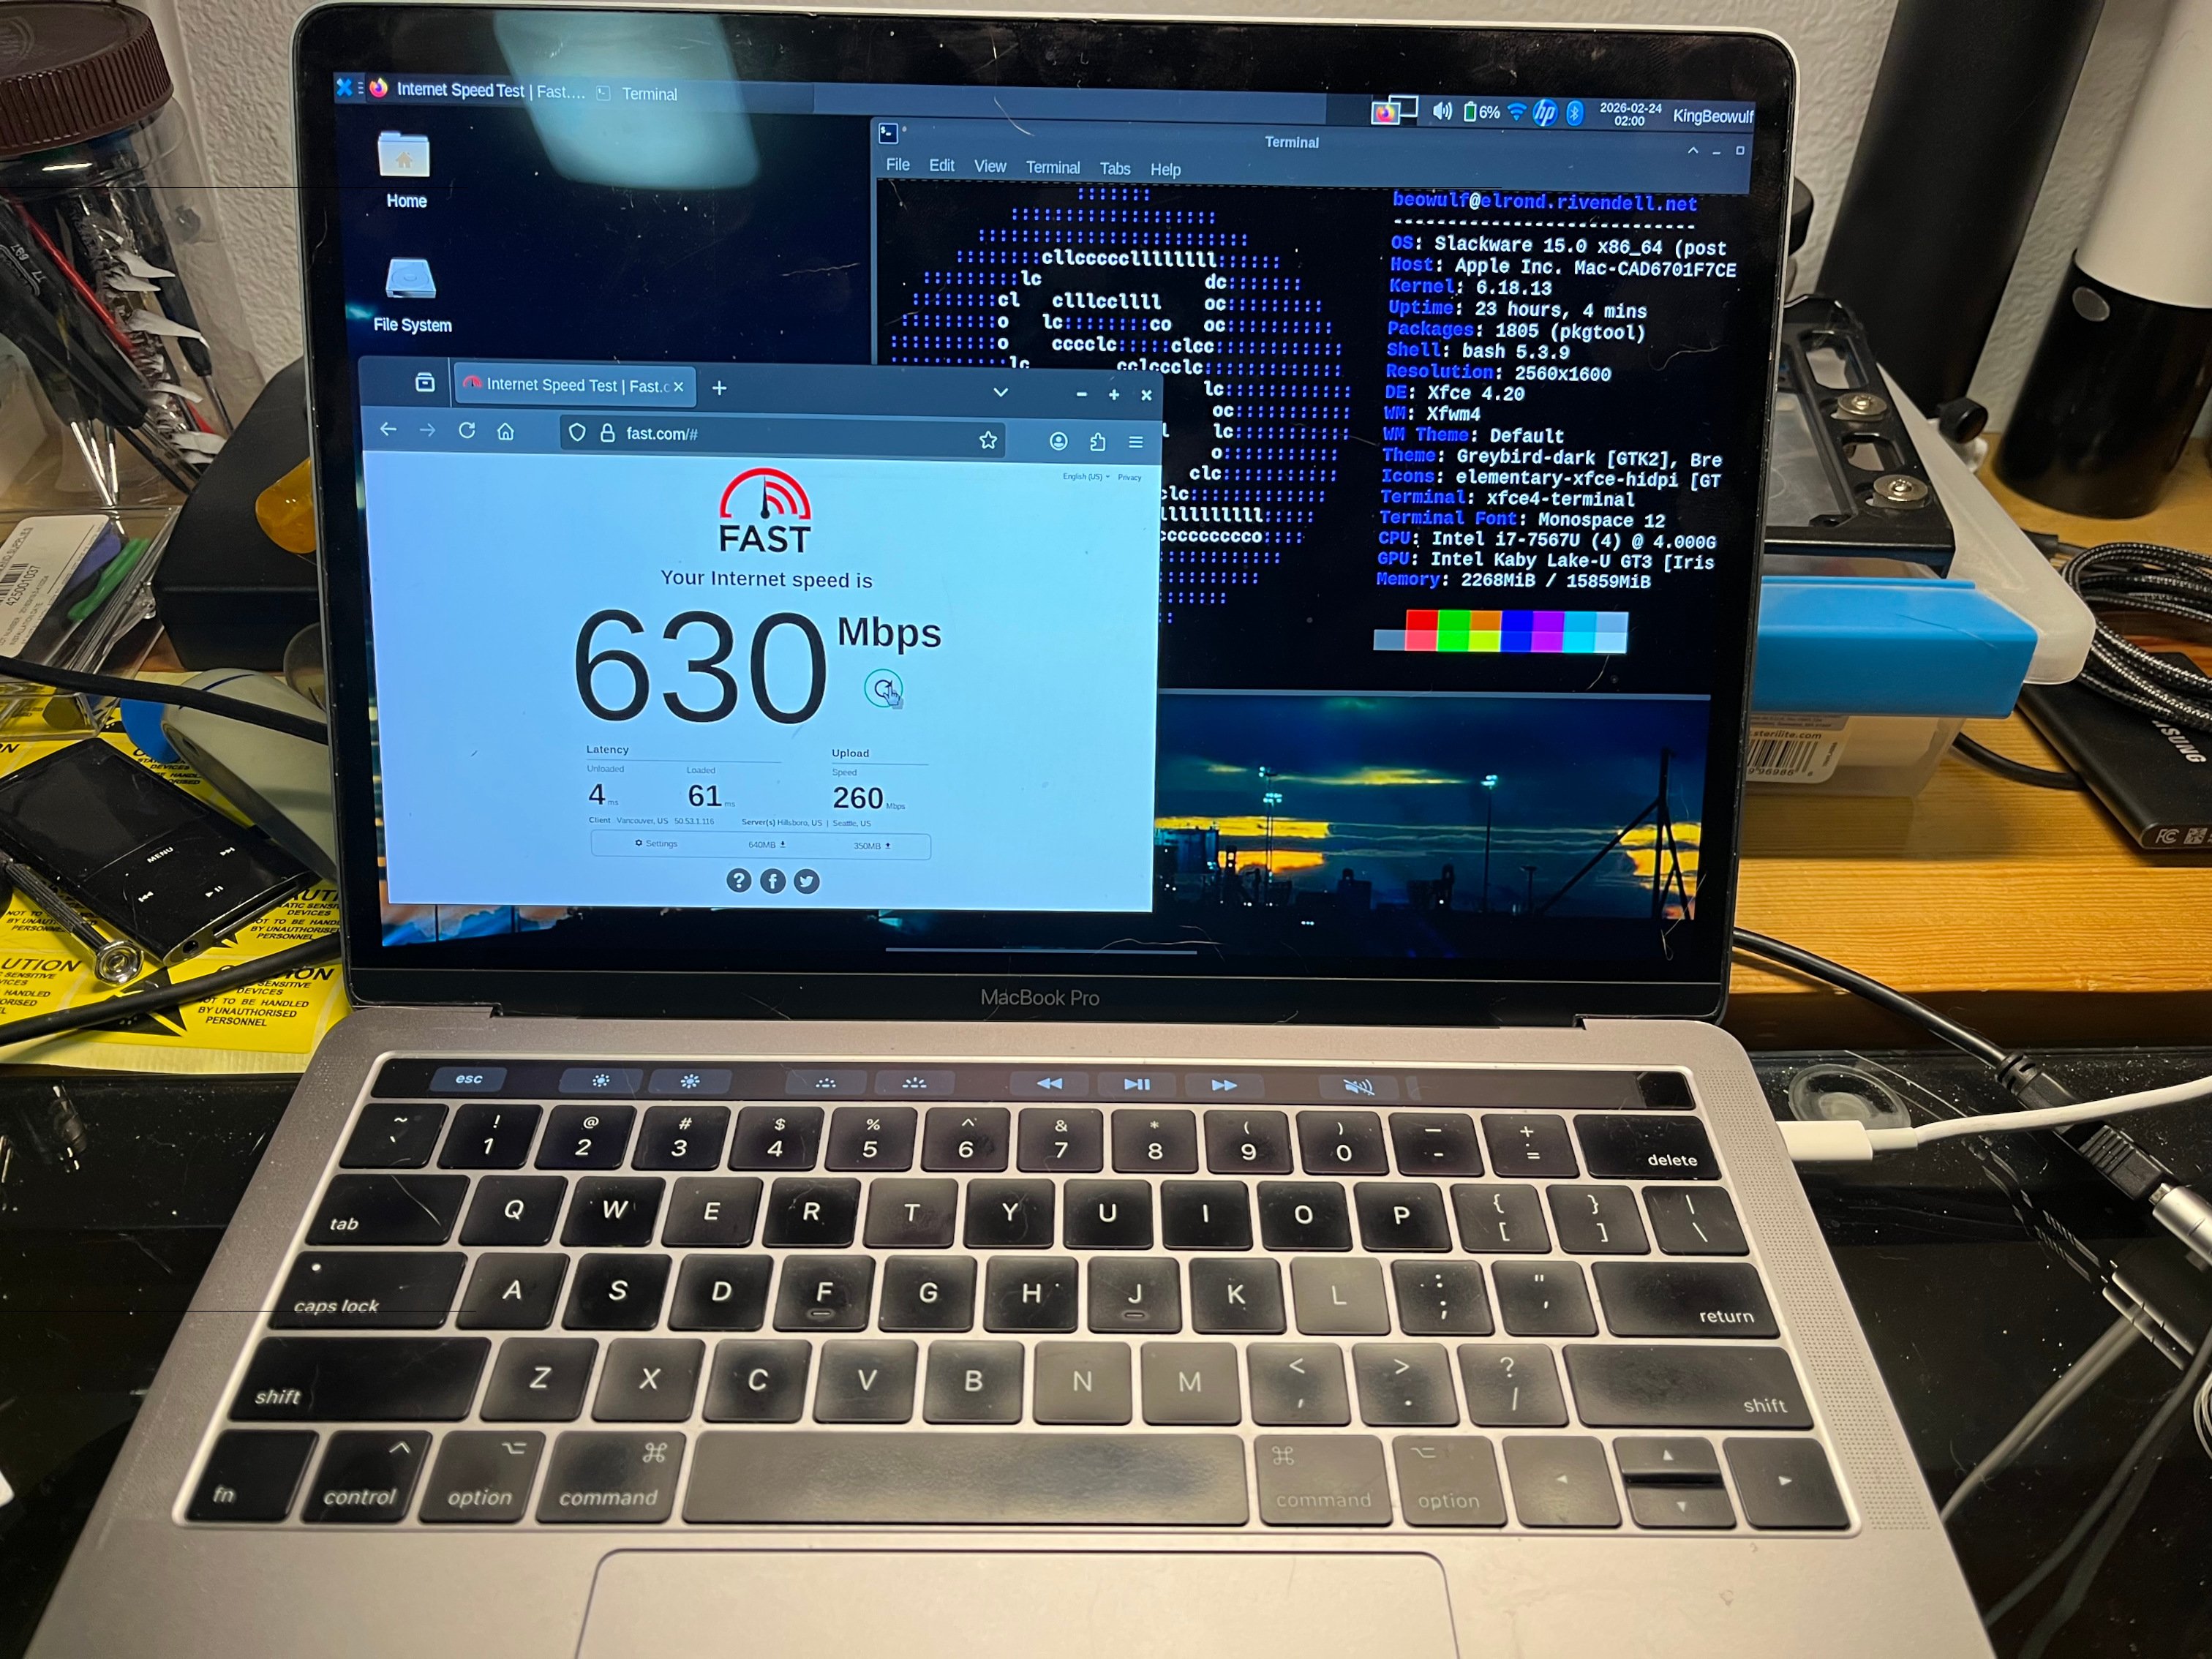
At this point, most everything works using the December 2025 - Jan 2026 Slackware current except for a few items, even, amazingly, bluetooth. I was able to tether my iPhone via bluetooth for network access. I had posted on Linuxquestions.org a few months back to adjust the kernel configuration for the APPLESPI modules (CONFIG_KEYBOARD_APPLESPI is not set) thus eliminating the need to have an external keyboard during installation. Three final items needed some work: WIFI, touchbar, and audio/sound. None of these worked at all after installation.
Also, I highly recommend using kernel 6.18.x from /testing as this newer kernel seems to be a bit more operational that the install default 6.12.x or 6.14.x also in /testing.
WIFI
Ah, the bane of open source: Broadcom wireless chipsets
Network controller: Broadcom Inc. and subsidiaries BCM43602 802.11ac Wireless LAN SoC (rev 02)
1lsmod |grep brcm
2brcmfmac_wcc           12288  0
3brcmfmac              516096  1 brcmfmac_wcc
4brcmutil               16384  1 brcmfmac
5cfg80211             1400832  1 brcmfmac
6mmc_core              258048  1 brcmfmac
While I had checked for basic support, I had overlooked a weird quirk. While the modules and firmware were available, this chipset required a configuration text file for proper operation.
/lib/firmware/brcm/brcmfmac43602.txt
For some reason, Broadcom doesn't distribute this file. You can find the one I use in Shell Scripts and Utilities.
The file linked above is the latest iteration and works well - at least so far! Otherwise, you could sometimes scan and see the access point SSID but could not connect. The whole story is here.
Edit the provided configuration file to use to your specific MAC address. The rest should already be set up.
macaddr= <enter your actual brcm MAC address here>
If you think its weird to require the MAC address, same here. The other settings allow full power, all channels and both 2.4/5 GHz. Next, add the following to /etc/modprobe.conf/brcmfmac.conf to stabilize connections and reduce drops:
1options brcmfmac feature_disable=0x82000 # disables WPA SAE option, auth offload and fast roaming (?)
2options brcmfmac feature_disable=0x2000  # disable reduce CPU load option
Lastly, if using, NetworkManager, turn off power management. Create the file /etc/NetworkManager/conf.d/default-wifi-powersave.conf with the contents
1[connection]
2wifi.powersave = 2
Reboot and wifi should work. It is still a bit cranky sometimes but seems to better now with kernel 6.18.x.
TOUCHBAR
For those MacBook models with the touchbar ribbon, hunting down the driver module updates was an adventure. While keyboard and trackbad drivers are now part of the kernel, and touchbar support for newer T2 based Macbooks is drifting into the kernel, for T1 Macbooks, it doesn't look like mainline support will be added anytime soon. Apple has also dropped the touchbar from new Macbooks. You can skip the touchbar, but then you won't have ESC, Fn keys, multimedia keys, etc.
When I started this adventure a year ago, Slackware current was using an older kernel in mainline (now 6.12.x), and a newer one in /testing (now 6.18.x). For either kernel series, you will need the updated macbook12-spi-driver. First, downloaded and install dkms. For kernels before 6.14:
1git clone https://github.com/marc-git/macbook12-spi-driver.git /usr/src/applespi-0.1
2cd /usr/src/applespi-0.1
3dkms install -m applespi -v 0.1
For kernels before 6.14 and newer (or at least 6.18.13 as of this post), you will need an updated fork:
1git clone https://github.com/pedroresende/macbook12-spi-driver /usr/src/applespi-0.1
2cd /usr/src/applespi-0.1
3dkms install -m applespi -v 0.1
The new modules will be installed in /lib/modules/6.x.y/. You will need to run dkms command again manually on kernel upgrades if you do not enable automatic kernel rebuilding. The power button/finger scanner will work only as a power button. Biometrics support is not implemented.
You now have basic touchbar functions if not as fancy or colorful as with MacOS.
AUDIO
The Linux kernel does have Macbook audio support out-of-the-box, maybe. However, Apple tends to make "changes" the audio chipset so that the generic modules do not work. Fortunately, we found a fix to the kernel driver for sound on Macs with Cirrus 8409 HDA chips:
https://github.com/davidjo/snd_hda_macbookpro
This project has a handy script, for those "other" linux distros, to handle patching the kernel source. It will download the kernel source for the running kernel, patch the cirrus driver, and compile and install the new kernel module. The script checks for various "other" distros for the kernel headers, and will exit since Slackware isn't "detected" - as in not even considered. Yes, lots of quotations so I can voice my displeasure without starting a flame war. Fortunately a simple edit fixes this oversight.
To start, grab the repo and put it somewhere (I use $HOME/Builds/audio/ from my normal user):
1git clone https://github.com/davidjo/snd_hda_macbookpro.git
2cd snd_hda_macbookpro/
You will need to edit the installation script to bypass the header check, for example,
1nano install.cirrus.driver.sh
or use your favorite editor. Simply add a check for Slackware so that the script skips all the other distro logic. Here is the patch file for the changes:
 1--- install.cirrus.driver.orig.sh	2026-02-22 22:12:35.843012155 -0800
 2+++ install.cirrus.driver.sh	2026-02-23 02:51:17.846984261 -0800
 3@@ -86,6 +86,7 @@
 4 isfedora=0
 5 isarch=0
 6 isvoid=0
 7+isslack=0
 8
 9 if [ -d /usr/src/linux-headers-${UNAME} ]; then
10 	# Debian Based Distro
11@@ -103,6 +104,10 @@
12 	# Void Linux
13 	isvoid=1
14 	:
15+elif [ -d /usr/include ]; then
16+       # Slackware Linux
17+       isslack=1
18+       :
19 else
20 	echo "linux kernel headers not found:"
21 	echo "Debian (eg Ubuntu): /usr/src/linux-headers-${UNAME}"
I was too lazy to customize this script any further, and leave that task as an exercise for the reader. As root, run the script to generate the new module. If already generated the touchbar modules, you should already have dkms installed. Reboot to load the new module. Sometimes, for sound to initialize, you may need to fully power off the Macbook.
Currently, the left speaker is about 1/2 volume of the right speaker. The headphone jack works and audio is balanced. The speakers work properly in MacOS (dual boot), so I suspect something is still a bit off with the audio drivers.
This Macbook Pro has 4 USB-C ports. The 2 on the left are Thunderbolt 3; the 2 on the right are USB3. Any port can be used to charge. I've run into a few glitches where devices aren't fully detected when plugged in, but with a reboot all is well. Also some devices work on either side, some only on the USB3 side. Curiously, I have 2 USB-C hubs with USB-A, C, HDMI and sdcard ports. Both work, but one only reports as USB 2.0. This same hub reports as USB 3 when plugged into a USB-C port port on my AMD Ryzen desktop box. Go figure.
To avoid rebooting, you can try at reset the USB hub or device. On this Macbook, we see via lsusb and lspci
 1# lsusb
 2Bus 001 Device 001: ID 1d6b:0002 Linux Foundation 2.0 root hub
 3Bus 001 Device 002: ID 05ac:8600 Apple, Inc. iBridge
 4Bus 002 Device 001: ID 1d6b:0003 Linux Foundation 3.0 root hub
 5Bus 003 Device 001: ID 1d6b:0002 Linux Foundation 2.0 root hub
 6Bus 004 Device 001: ID 1d6b:0003 Linux Foundation 3.0 root hub
 7Bus 005 Device 001: ID 1d6b:0002 Linux Foundation 2.0 root hub
 8Bus 006 Device 001: ID 1d6b:0003 Linux Foundation 3.0 root hub
 9
10# lspci -D |grep "USB controller"
110000:00:14.0 USB controller: Intel Corporation Sunrise Point-LP USB 3.0 xHCI Controller (rev 21)
120000:06:00.0 USB controller: Intel Corporation JHL6540 Thunderbolt 3 USB Controller (C step) [Alpine Ridge 4C 2016] (rev 02)
130000:7c:00.0 USB controller: Intel Corporation JHL6540 Thunderbolt 3 USB Controller (C step) [Alpine Ridge 4C 2016] (rev 02)
You can try resetting a root hub via sysfs as root, for example, to reset iBridge,
 1echo "1-2" > /sys/bus/usb/drivers/usb/unbind
 2echo "1-2" > /sys/bus/usb/drivers/usb/bind
 3
 4or
 5
 6usb_modeswitch -v 0x 05ac -p 0x8600 --reset-usb
 7
 8or
 9
10usbreset 05ac:8600
Alternatively, you can also try to reset the entire USB controller. Note: Each Thunderbolt port appears to be on its own controller.
1echo 0000:00:14.0 > /sys/bus/pci/drivers/xhci_hcd/unbind
2echo 0000:00:14.0 > /sys/bus/pci/drivers/xhci_hcd/bind
3
4echo 0000:06:00.0> /sys/bus/pci/drivers/thunderbolt/unbind
5echo 0000:06:00.0 > /sys/bus/pci/drivers/thunderbolt/bind
6
7echo 0000:7c:00.0 > /sys/bus/pci/drivers/thunderbolt/unbind
8echo 0000:7c:00.0  > /sys/bus/pci/drivers/thunderbolt/bind
The HiDPI retina display will need some scaling adjustments so that the icons and test for KDE/Plasma or Xfce aren't tiny scribbles. This is easily done in the appropriate settings applet. However, if you use Xfce, but still use the occassional KDE program, as I do, the KDE program will not see the correct scaling factor, even if you previously set it in KDE. To fix this, add to your user's .bash_profile similar
1export QT_AUTO_SCREEN_SCALE_FACTOR=2
2export QT_ENABLE_HIGHDPI_SCALING=2
3export QT_SCALE_FACTOR=2
https://forum.xfce.org/viewtopic.php?id=16870
Do not add this globally as it can confuse/override KDE settings.
This was quite the adventure getting everything to work. If you can pick up an Intel Macbook for cheap, it will make a good spare or backup laptop. I use it for general tasks (web, email), as well as streaming our linux user group meetings to Twitch with a GoPro Hero 13 and OBS Studio.
- Related Topics:
- slackware64
- macbook
Contact:
- kingbeowulf@linuxgalaxy.org
- mumble.linuxgalaxy.org:64738
- Libera.chat IRC
- ##slackware, #slackbuilds, #linuxgalaxy
Screamin' and a-streamin' !
- https://twitch.tv/kngbwlf
- https://www.youtube.com/@mylinuxgalaxy
Advertisement
Tired of Steam, Epic and other rip-off game "stores"? Check out Humble Bundle for your digital download needs! A portion of your hard-earned gaming cash goes to charity.
King Beowulf's Humble Bundle Referral CodeCitizen Science!

